Personalization of your tickets is required at all Art of Dance events. All tickets in your order have to be personalized in order to receive them. Below you’ll find a step-by-step instruction on how to personalize your tickets.
Please note: if you’re experiencing difficulties with the personalization of your ticket(s) we recommend to follow the steps below on your computer, not on your phone.
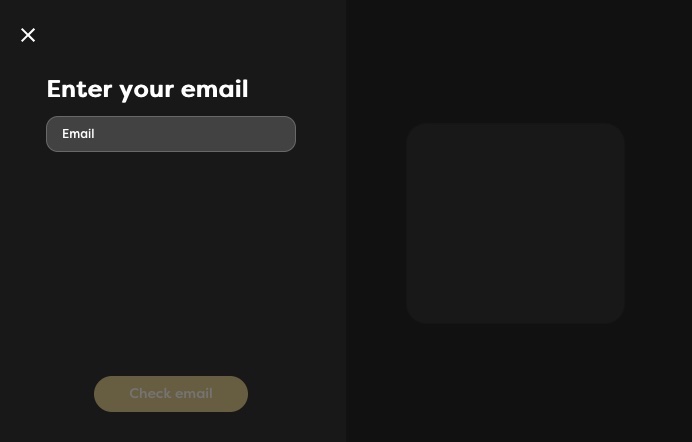
Step 1: log in to / create your account
You need an account for the event you’ll be visiting to personalize your tickets. Visit the website of the event and click login (or register) in the right upper corner of the website to login to your account. If you don’t have an account yet, it will automatically be created. Keep an eye on your inbox (and spam) for the emails with a login link.
Step 2: click personalization link in your email
Right after you purchased your tickets, you (the main booker) should have received an email from Paylogic ([email protected]) with a request to personalize your tickets / add more information. Please look up this email in your inbox (or spam) and click the personalization link.
If you can’t find this personalization request email, or used the wrong email address, please contact Paylogic.

Step 3: claim or invite tickets
Step 3: claim or invite tickets
If you bought one of the tickets for yourself, click the ‘claim’ button. This ticket is now personalized with your personal details. Click ‘back’ and you will see that one ticket is claimed on your behalf.
For the other tickets in your order (if applicable), choose ‘invite’. You will now see a personalization link. Copy the link and send it to the friend who will use this ticket. Advice him/her to create an account first (see step 1) and click the personalization link after that.
Important: each email address can only be used once, so make sure to use a different account/email address for each ticket! If you bought tickets before (different order number) and claimed tickets from that previous order already, it will also not be possible to use that account(s)/email address(es) again to personalize.

Step 4: make sure all tickets are personalized
A few minutes after all tickets in the order have been personalized by different accounts/email addresses, the main booker will receive all tickets by email. Make sure to check your spam. If you didn’t receive the tickets, you can use this link to re-send them to your email address. If that still doesn’t work, please contact Paylogic.
Frequently Asked Questions about ticket personalization
Still can’t personalize your ticket(s) or got other questions about ticket personalization? Check the Frequently Asked Questions below. Still can’t find your answer? Don’t hesitate to contact us.
I don't have access to my email address (anymore) how can I change it?
Please contact Paylogic customer service about this, they can help change the email address you originally placed the order with. Unfortunately we can’t change this for you.
(How) can I change the name on my ticket(s) after personalization?
If you ever need to change the name on the tickets that have been personalized, you can use our Ticket Transfer tool to do so.